Every day that passes, new ways of reflecting reality appear. The trend is to use these tools over the purely aesthetic. Despite everything we are reluctant to change the tool with which we have worked for so long, even knowing that a change would save us time and work.
That is why it is necessary to adapt to BIM modeling, complementing it with the use of the point cloud as a source of information for data collection, in order to make a model that most closely adjusts to reality, apart from improving the efficiency and management of our projects. But how do we relate our cloud if we work with Revit?
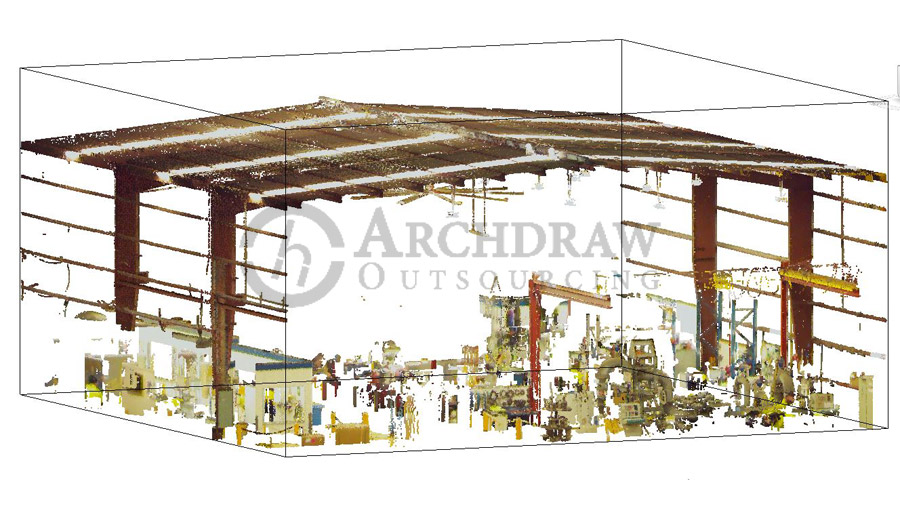
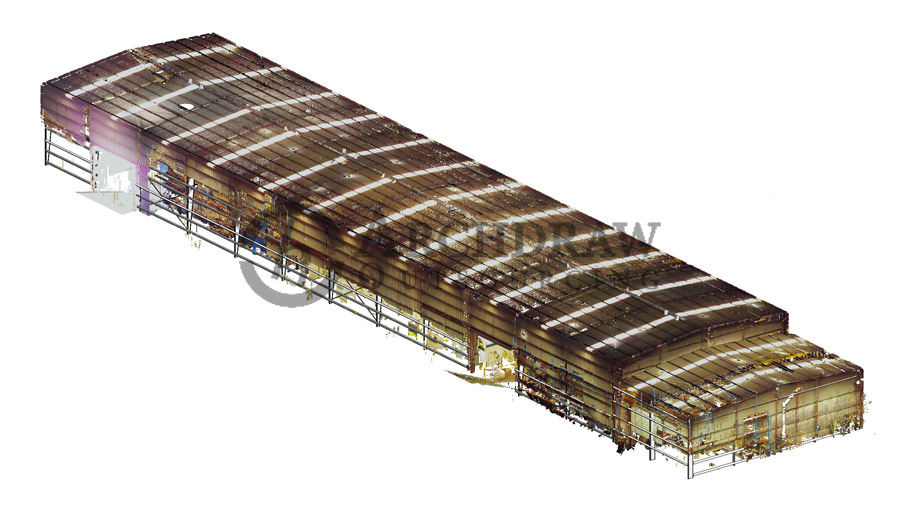
For us to understand, point clouds are an enormous amount of distance measurements to a point, taken in this case with a laser scanner, drone, camera with a sensor. The photographic information of each of these points and the collection and management of all the spatial situations and explorations of the receiving apparatus, it is what we call a CLOUD OF POINTS. This shows us a three-dimensional model of what we have scanned. We can see this cloud with different visualization programs or insert it in programs that give us a graphic interpretation of it like Archicad, Revit and AutoCAD. The detail of the cloud geometries, added to the BIM modeling, can save us a lot of time in data collection like dimensions, creation of projects, blueprints and management of licenses and permits, among other utilities.
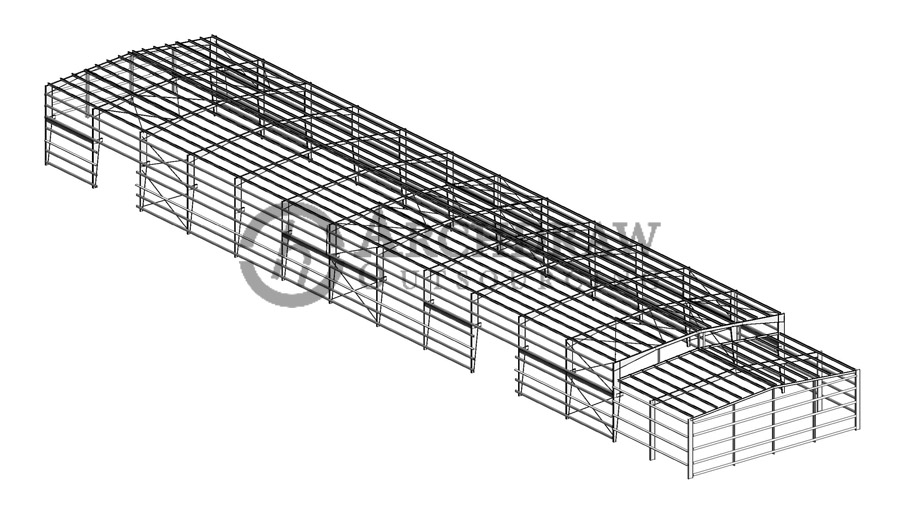

But starting from a point cloud and it ends up becoming a Revit model, it is not an automatic task or absence of considerations and work, for a good job we have to take a series of criteria that will help us achieve a functional and useful model for our future projects. Here are ten quick tips to improve our Point Cloud / Revit flow:
1. Look for optimal quality from the start
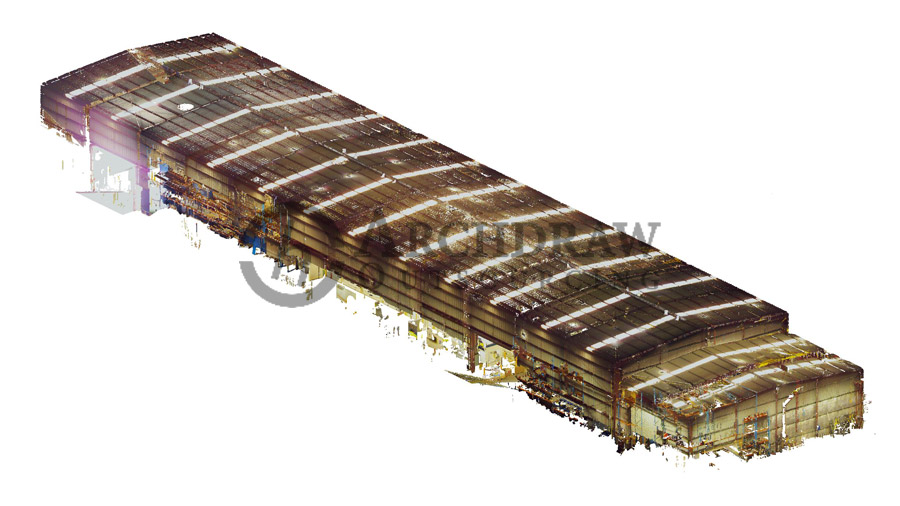

To begin with, we must be aware that the cloud describes the geometry perfectly to us, but it does not have X-rays to know what layers a wall is made of or what is under a roof. Here we combine the experience and knowledge of the modeling technician, with the contribution of photos, testing and extra support to the point cloud (plans, old projects, research, Google maps, etc.). In addition to a good technician with experience and modeling knowledge who performs the laser scanning. Surround yourself with experienced professionals, get good advice and collect all the information you can, you never know how useful it can be.
2. Be clear about the use of the cloud
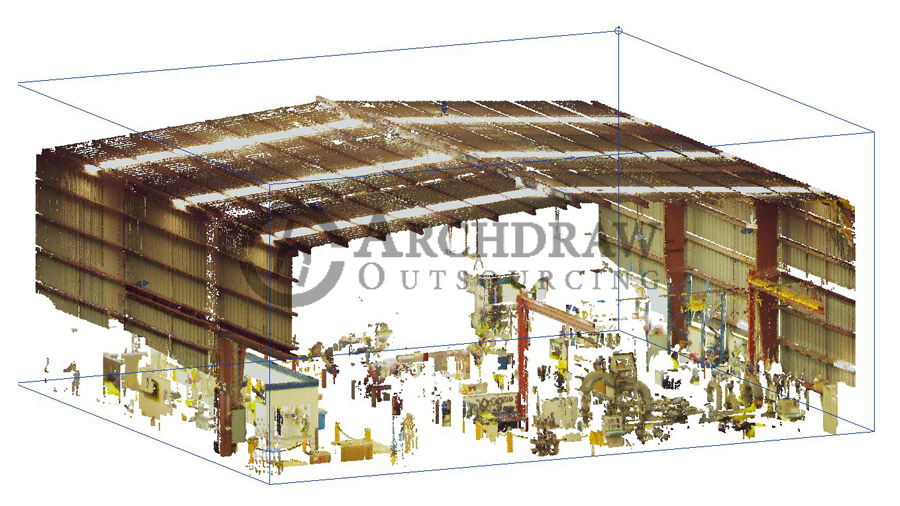

The use of our point cloud is clear when we use Revit, geometrically define our model. But are we clear about its specific use? The tendency is to model everything or forget important things to model. Since we do not need to develop the same project for a comprehensive rehabilitation as for maintenance, even one can be part of the other. If we model having drawn up a plan of uses and needs. We save time and therefore money. Don’t be afraid to ask and get advice from those who know, sometimes you just need a little boost to your knowledge and experience.
3. Adapt to the cloud
The reality is usually much more complex than any model and the cloud reflects reality. When it comes to adapting to the cloud, Families are not immovable elements. Some tools can be used as one family or another. The curtain wall can function as a window or a cladding element and the railings as elements of the structure or metalwork. You just have to modify the appropriate parameters. You have no choice but to adapt to the cloud, but Revit can adapt to you.
4. Take advantage of repeating patterns

Do not stay with the basics, some elements are more useful than masses and modeling in the site, which are a good option to get out of the way, but you cannot make a whole model with them. Look for those patterns. Consider if you need it and if you have to stop to generate something new architectural family. Make sure to save it and classify it, adapt it to your template for the next project. Today’s extra work is time saved for tomorrow.
5. Manage your project as well as possible from the beginning
Use files to coordinate disciplines Architecture, Structure, MEP, differentiating wings, or buildings. It will reduce both the memory you occupy on the hard disk and the working memory you use, already reduced by the load of the point cloud. It will also help you to have a global vision of your project. Create your system of views and work, Revit has many utilities to understand the geometry, not that you are only left with plants and 3D views. Reference boxes are essential as soon as the project starts to grow.
6. Use collaborative platforms
Learn to collaborate if you are more than one modeler, it is always useful to leave the model ready to collaborate to integrate the help to your work without wasting time. Some specialists can advise you and help you adapt to your own working method and even look for platforms that give you support for this purpose.
7. Adjust the specifications of your equipment
You don’t need a costly computer and 4 monitors to work the point cloud with Revit, with good memory and a medium graphic you can work. Use the criteria of your memory must be at least 2/3 the weight of the Cloud. For example, If the cloud weighs 2.5GB, you must have at least 4 GB of memory (working memory, not hard disk). The rest of the components will make your work more or less, but if you manage well as we talked about in the two previous tips, you can work with almost any cloud and of any size, with an average workstation in a studio.
8. Hot spot system
Versions after 2017 have a hot spot system, a tool that helps you take the closest point of the cloud for reference. It is a very useful tool when we want to make a model with an error tolerance of a few millimeters. In addition, we can interpret the cloud by looking for normal alignments, differentiation by colors, or by height, if we work it well we can document and see tipping and collapsing.
9. Accurately reference the cloud

If you work with point cloud in Revit (and in any other BIM modeling program that can work with it) make sure you know how it is referenced. Ask yourself, Where is the zero point of my cloud? Where is the zero point of my project? Do I want my project to be georeferenced? If we solve these doubts at the beginning, we will save a lot of headaches, the less the cloud moves the better, thus we will be able to solve problems such as new cloud updates or model extensions. It is important to specify for, how and level of the cloud that you are going to use.
10. In short, start working with a point cloud
Nobody learns by being extremely cautious, take the risk of learning to model and use the POINT CLOUD tool, in the end, the experience is a degree. You can always seek the necessary help and advice.
Finally, at Archdraw Outsourcing, we know the complexity of creating a BIM model. Not because of its difficulty in making it itself, but because for the use of this model to be correct. The experience is essential for quality to overcome the barrier of time and basic utility. That is why connecting and developing a model from a point cloud has a large number of advantages. If, in addition, a quality model is made, among other great benefits, such as saving time and money, we will have a multi-functional product that is not obsolete for future uses.
